In this section:
- About the End of Survey Settings
- Hide the Next and Back Buttons
- Show an Additional Thank You Message
- Show Survey Responses
- Show Intermediate Results
- Redirect Respondents to a Website
- Launch the Survey on a Loop
- Show Survey Responses
About the End of Survey Settings
You can use the End of Survey tab to determine what should happen once the respondents have reached the end of your survey or provided answers to all questions.
You can either have them stay on the last page of your survey or redirect them to another page (where they can view their responses or survey results or to a specific website). You can also put your survey on a loop. You can decide whether or not your respondents should get a Thank You email and/or a completion notice.
To change the settings for the end of the survey, go to Survey Settings and select the End of Survey tab. Here, you can customize the following parameters:

Hide the Next and Back Buttons
If you hide the Next and Back buttons on the last page of your questionnaire, the respondents will not be able to leave the last page. In other words, they will have no way to either go to the next page or return to the previous page of your survey. This means that they will no longer be able to change the answers they provided.
This may be really useful if you want to use complex formatting or HTML code for the last page of your questionnaire and/or if you do not need an additional standardized Thank You page.
If you want to use this setting, the last page of your questionnaire should not contain any questions. Yet, in the absence of the Next button, most respondents may be unsure as to whether or not their answers have been sent and they have successfully completed the survey.
Show an Additional Thank You Message
If the Show a Thank You Message option is enabled, your respondents will see an additional page with a Thank You message after filling out the last page you created in the editor.

This page does not contain the Next and Back buttons. Your survey will end on this page.
If you choose to enable this option, you can also edit the standard text shown on this page.
Edit the Text on the Last Page of Your Survey
- Go to Survey Settings.
- Select the End of Survey tab.
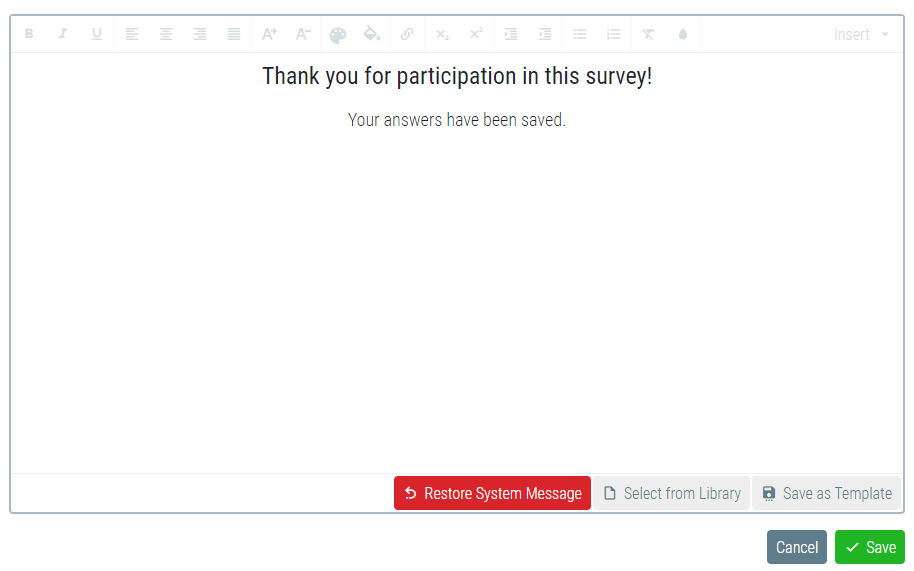
- Click on Edit Message and you will see a dialog box where you can edit and format the text.
You may edit the text as you wish. If necessary, use the formatting tools in the top navigation bar.
You can save your new formatted text as a template and use it in your other questionnaires. To do this, click Save as Template.
Alternatively, you can download a Thank You template from the Library by clicking on Select from Library.
If you are not satisfied with your edits and want to use the default text, you can reset all changes by clicking Restore System Message.
Click Save to apply changes and close the dialog box.
Show Survey Responses
You can opt to show the respondents their answers after they complete your survey.
In this case, they will see all questions on one page after leaving the last page of your survey. Their answers and input data will be shown in the corresponding fields. The respondents cannot use this page to change or adjust their answers,
but they can save and/or print the answers displayed in the browser.
Only the questions that the respondents actually saw during the survey will be shown on this page. This means that they won’t see the questions they skipped by using a filter and the questions that were hidden in line with the display logic.
Show Intermediate Results
When the Redirect to Survey Report option is selected, the aggregated intermediate results will be shown at the end of your survey (for example, the results of an ongoing vote).

After selecting this option, you will see a drop-down window at the end of the Redirect to Survey Report line, where you need to select one of the survey reports you previously created. This report will be shown to all respondents who left the last page of the questionnaire. The report will be based on all previously completed questionnaires (including answers on a given topic).
If you cannot find a suitable report in the list of available reports, or if you don’t have any reports yet, click the Create Report button. You will be redirected to Analyze Results, where you can create a required survey report. Next, go back to the End of Survey settings and select the new report from the drop-down list.
If you fail to add a specific report after selecting the Redirect to Survey Report option, you respondents will see an additional Thank You page instead. In this case, the result will be the same as with the Show a Thank You Message option enabled.
Redirect Respondents to a Website
If you want your respondents to go to a specific website (for example, home page) or web service (for example, QUESTIONSTAR) after completing your survey, enable the Redirect to URL or Web Service option and insert a relevant address.

The URL parameters set up for the survey link will be added to the target URL when your respondents are redirected to the target website. The landing page can (re-)use these parameters for its own purposes.
Example: You want to use panel respondents for your survey. The panel operator wants to check which respondents from the list have successfully completed your survey. The respondents need to send a message to their operator after completing the survey.
Launch the Survey on a Loop
Sometimes, it may be useful to loop your survey. In this case, your survey will be restarted after completion and can be filled out again from scratch. Each completed session will be saved as a new entry.
If this is what you need, enable the Restart Survey option.

You can also edit standard text shown between the two consecutive launches and set up a timeout for automatic launch of a new survey session.
Editing the System Message Shown between Two Sessions
If you want to change the default text shown between the two launches:
1. Click Edit Message.
You will see a dialog box where you can edit and format your text.
2. You may edit the text as you wish. If necessary, use the formatting tools in the top navigation bar. You can save your text as a template and use it later in other questionnaires. To do this, click Save as Template. You can also download another template from the Library. If you are not satisfied with your edits and want to use the default text, you can reset all changes by clicking Restore System Message.
3. Click Save to apply changes and close the dialog box.
Setting the Timeout
To set a timeout for automatic launch of a new session, enter the number of seconds in the field next to Automatically Restart Survey After.

If you don’t want your survey to restart automatically, insert “0” in this field or leave it blank. In this case, a new cycle can only be initiated by clicking the Restart button on the intermediate page.
Examples when a looped survey may be useful:
If you are using a tablet with shared access installed at a reception desk to conduct your survey: once completed, the survey should be restarted for the next visitor.
If an interviewer holds interviews for more than one sale item at a trade fair and needs to restart the survey for each item.
If you are using paper surveys and their results need to be copied to an electronic database by using an online questionnaire. In this case, the questionnaire should be restarted for each new paper copy of your survey.
Show Survey Responses
If Show Survey Responses option is enabled, the participants will be redirected to a page where they can view the entire questionnaire. On this page, they will see all answers they selected and the text they typed in the corresponding fields. The respondents cannot use this page to change or adjust their answers.
